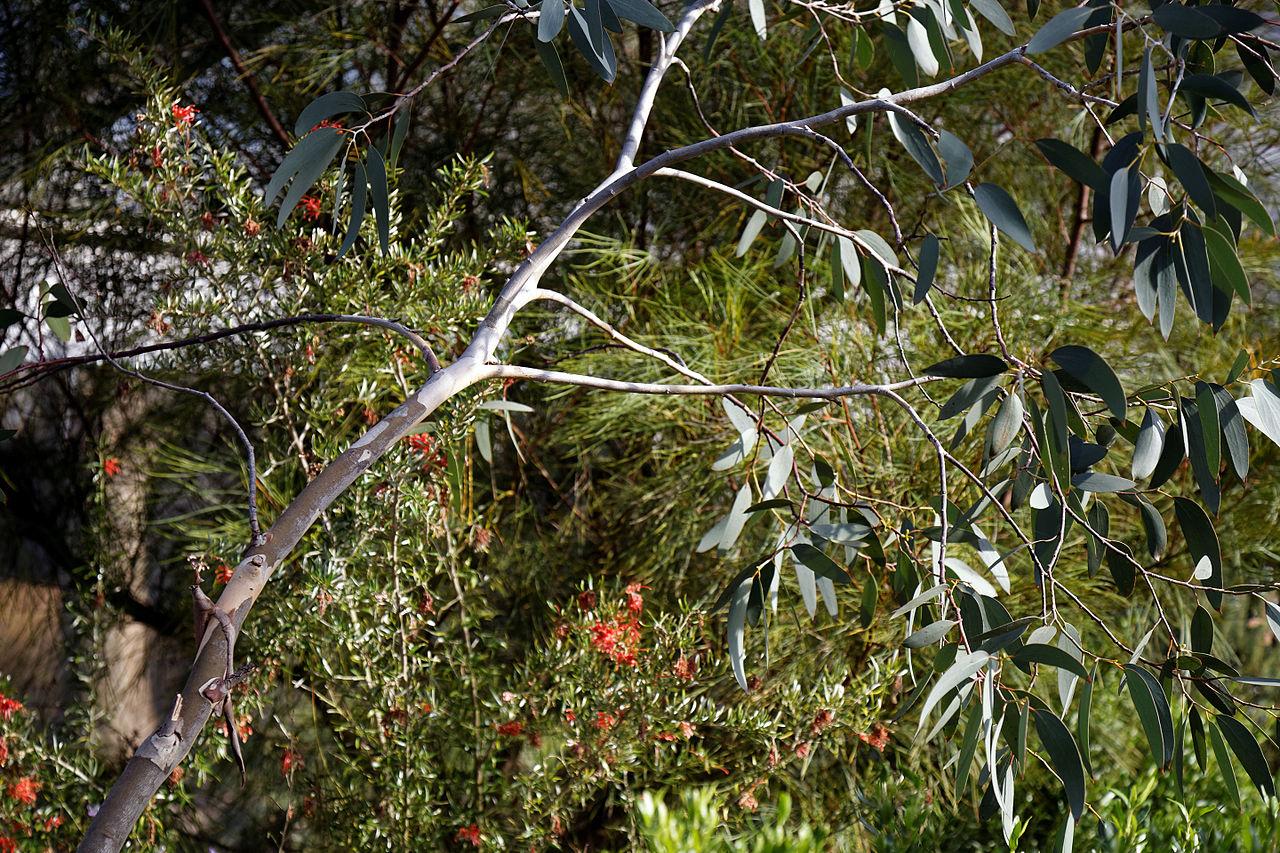
Winter might seem like a time to retreat indoors, but for the native gardener, it's prime pruning season. With many Australian plants dormant or slowing growth, winter pruning encourages vigorous spring growth, maintains shape, and extends plant life. Here's your complete guide to winter pruning native plants.
Why Winter Pruning Works
- Dormant season: Plants focus energy on root development
- Less stress: Cool weather reduces transplant shock from cutting
- Disease visibility: Without leaves, problem branches are obvious
- Spring readiness: Plants respond with vigorous new growth
- Fire preparation: Remove dead material before fire season
What to Prune in Winter
Eucalypts and Corymbias
- Remove dead, diseased, or crossing branches
- Lift skirt for clearance (fire management)
- Never remove more than 20% of canopy
- Avoid topping - causes weak regrowth
Banksias and Grevilleas
- Light tip prune to maintain shape
- Remove spent flower heads
- Cut back leggy growth by one-third
- Shape for density
Acacias (Wattles)
- Prune immediately after flowering
- Shorten long branches to maintain compact form
- Renew old plants with hard prune (if species allows)
Callistemons (Bottlebrushes)
- Remove spent flower spikes
- Thin crowded growth in centre
- Can tolerate harder pruning for rejuvenation
Leptospermums and Melaleucas
- Light trim after flowering
- Remove spent flowers to encourage more
- Can be shaped into hedges
What NOT to Prune in Winter
- Spring-flowering species: You'll remove flower buds (wait until after flowering)
- Frost-sensitive plants: Wait until risk of frost has passed
- Early establishers: Plants in ground less than 12 months need minimal pruning
- Sick plants: Address health issues first
Essential Tools
- Secateurs: For branches up to 2cm (bypass type, not anvil)
- Loppers: For branches 2-5cm
- Pruning saw: For larger branches
- Pole pruner: For high branches
- Sharpening stone: Clean cuts require sharp tools
- Steriliser: Methylated spirits or bleach solution
Pruning Techniques
The 45-Degree Cut
Always cut just above a bud or branch junction at a 45-degree angle, sloping away from the bud. This prevents water pooling on the cut surface.
Removing Large Branches
Use the three-cut method to avoid tearing bark:
- Undercut 30cm from trunk (prevents tearing)
- Cut from top, 5cm further out (branch falls)
- Final cut just outside branch collar
Tip Pruning
Pinch or cut growing tips to encourage bushiness. Remove just 2-5cm of new growth.
Step-by-Step Pruning Process
Step 1: Assess
Walk around the plant. Identify:
- Dead or dying branches
- Diseased wood
- Crossing/rubbing branches
- Overcrowded growth
- Unwanted shape
Step 2: Remove Problems First
Start with the "three Ds":
- Dead
- Diseased
- Damaged
Step 3: Thin for Airflow
Remove crossing branches and overcrowded growth. Aim for open, vase-shaped structure.
Step 4: Shape
Step back frequently. Prune for natural form rather than geometric shapes.
Step 5: Clean Up
Remove all prunings (especially important for fire-prone areas). Compost healthy material; dispose of diseased wood.
After-Pruning Care
- Water deeply if soil is dry
- Apply organic mulch
- Monitor for pest attack on new growth
- Fertilise lightly in spring if needed
When to Call a Professional
- Branches larger than 10cm diameter
- Work requiring chainsaws
- Trees near power lines
- Branches over structures
- If you're unsure about technique
Common Pruning Mistakes
- Topping: Cutting main stems destroys natural form
- Over-pruning: Removing too much stresses plants
- Flush cuts: Cutting too close to trunk damages healing
- Stub cuts: Leaving too much invites disease
- Dull tools: Create ragged wounds that heal poorly
Winter pruning is an investment in your garden's future. Done correctly, it promotes healthy growth, extends plant life, and maintains the natural beauty that makes Australian native gardens so special. So grab your secateurs and embrace the winter pruning season!